Installing Hyper-V on Server Core 2008 R2, a journey into the abyss of CLI administration
This week i decided to take myself into a Hyper-V installation running on a Server 2008 R2 SP1 Core. To share my experience and to conserve my own knowledge I’d like to share my personal experiences in this blog post.
The start over
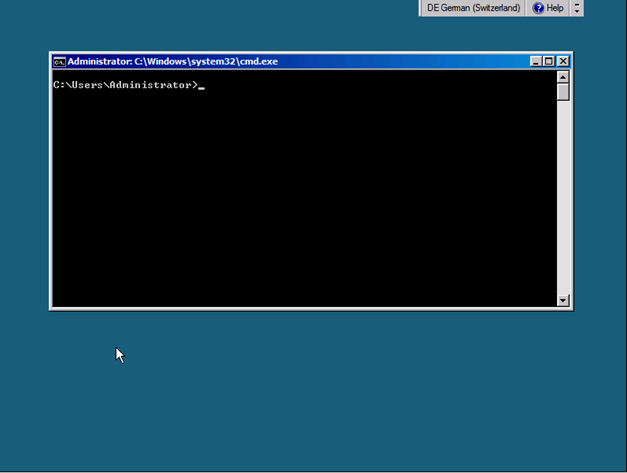
For each of you who haven’t seen a core server after initial image deploy, I’ve captured the scree after changing the admin password.
Configuring Networking
List interfaces and note down the IDX numbers
Netsh interface ipv4 show interfaces
Set the IP addess for the management interface
Netsh interface ipv4 set address name=”21″ address=10.2.1.140 mask=255.255.255.0 gateway=10.2.1.1
Set the DNS Servers
Netsh interface ipv4 add dnsserver name=”21″ address=10.2.1.160 index=1
Netsh interface ipv4 add dnsserver name=”21″ address=10.2.1.161 index=2
Rename the host
Netdom renamecomputer localhost /NewName:SHYPVC01
Join the host to a domain
Netdom join localhost /miru.lab /userD:
</span>
Enable remote management
Cscript \windows\system32\scregedit.wsf /ar 0
Netsh advfirewall set currentprofile settings remotemanagement enable
Install Powershell
start /w ocsetup NetFx2-ServerCore
start /w ocsetup MicrosoftWindowsPowerShell
Enable Powershell Remoting
Start powershell from C:\windows\system32\windowspowershell\v1.0\
Enable-PSRemoting
Install Hyper-V Role
start /w ocsetup Microsoft-Hyper-V
So from now on, you’ll be much more comfortable using SCVMM and all the stuff of RSAT to remotely manage your core host. Server core requires you less patching and the possibility of getting rid of curious windows admins thinking “ehh. let’s have a look what that server does” and logging in just for fun by clicking around fancy GUIs. Me personally I think the core installation will become more important with Server 8, because there are dozens of new modules and thousands of new CMDLETS making it way better to manage a core instance via PowerShell.
More details about how to manage a Server core instance in a later article.